
The question behind most first sessions
Almost every new learner asks me the same thing within the first ten minutes: where am I supposed to look? It sounds small, but it carries a lot of worry. People fear they will seem stiff, shifty or bored, and they cannot tell which of those the viewer will see.
The honest answer is that the lens is your audience. On a recorded video there is no room full of faces, only a small glass circle, and the viewer feels looked at when your eyes rest near it. That feels odd at first, because the screen shows your own face and every instinct pulls you toward it.
In the Eyeline and Camera Presence sessions we start there, with the simplest habit: find the lens, give it a name in your head, and speak to one friendly person standing behind it. Everything else we practise builds on that single choice.
Lens, screen or notes: what to look at
Learners often assume they must stare at the lens without a break. You do not. A steady gaze for a whole minute can look intense. A better rule is to return to the lens at the start of each thought and let your eyes drift slightly while you finish a sentence, much as you would in conversation.
If your own image is on the screen, shrink that preview window or move it right under the camera so a glance at it still looks close to the lens. Many people find it easier to cover the preview entirely once the frame is set.
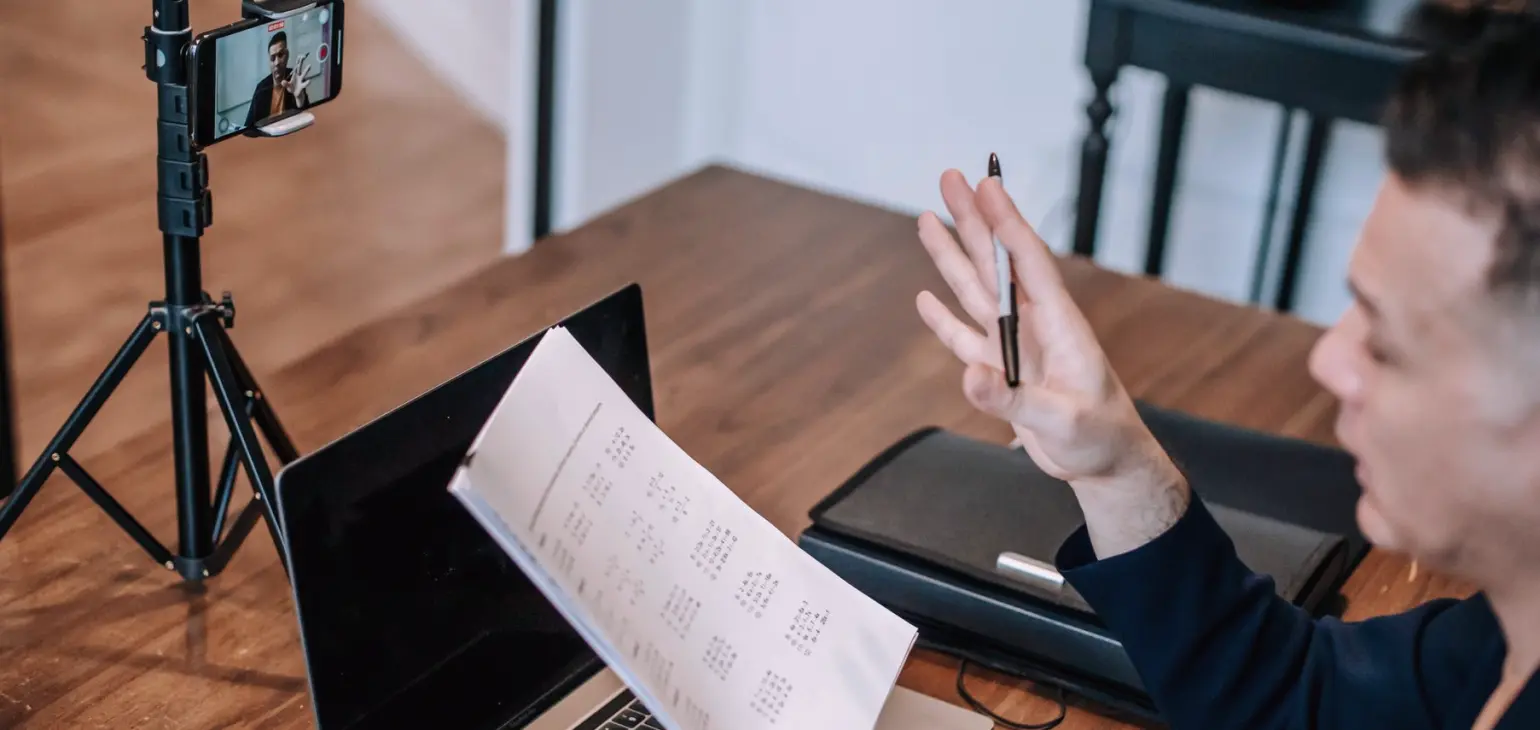
Notes are the other pull. A sheet beside the monitor sends your eyes sideways, and viewers notice the sweep. Keep key points short, place them directly under or beside the lens, and glance at them between ideas rather than mid-sentence. If you use a scrolling script, Daniel's teleprompter sessions cover that separately.
- Start each new thought with a look at the lens
- Shrink or cover your own preview window
- Keep notes close to the camera, not off to one side
Posture and what to do with your shoulders
The next question is usually about the body. People sit rigid, lift their shoulders toward their ears and then wonder why the video feels tense. Camera frames are small, so a little tension shows more than it would across a table.
Sit toward the front of the chair with your feet flat and your weight even. Let your shoulders drop after you breathe out, and lean a touch toward the camera, as you would toward someone you are glad to see. Standing works too, provided you do not sway; a small step back from the desk often settles that.
Hands are allowed. If you naturally gesture, keep the movements inside the frame and a little slower than usual, because quick motion blurs on video. If you do not gesture, rest your hands loosely out of shot and let your face and voice carry the message.
Framing: how much of you should show
A close second question is how the picture should be composed. For most business videos, frame yourself from the chest or mid-chest up, with your eyes roughly a third of the way down from the top of the picture. That leaves a little space above your head without wasting the frame on ceiling.
Set the camera at eye level. Placed low, it looks up your chin; placed high, it makes you look small and slightly anxious. A stack of books under a laptop does the job as well as any equipment.
Check what sits behind you before you record. A plain wall, a tidy shelf or a softly lit corner keeps attention on your face. Light matters just as much: face a window or a lamp rather than sitting with it behind you, and the camera will show your expression instead of a dark outline.
- Eyes about a third of the way down the frame
- Camera at eye level, steady on a stand
- Light in front of you, not behind
Practising until it feels ordinary
Nobody finds the lens natural on day one, and that is fine. The gaze improves with repetition, not with willpower. A useful routine is to record thirty seconds of an everyday topic, such as describing your morning, and watch it once with the sound off. Check only whether your eyes returned to the lens and whether your shoulders stayed low.
Then do it again, changing one thing. Changing one thing at a time keeps the exercise from becoming a long list of faults. Most learners notice a real shift within a few short rounds, though pace differs from person to person.
After each individual session we send a written recap and a short practice sheet, so you can repeat the drill at your own desk between meetings. Small, frequent runs of two or three minutes help far more than one long, tiring attempt the night before a recording.
What to bring to your first eyeline session
If you are thinking of booking, a little preparation makes the hour more useful. Bring the kind of video you actually make, whether that is a welcome message, a training clip or a live stream opener, and the device and setup you normally use.
It also helps to tell us what bothers you most. Some people dislike how they look sideways, others lose their place when they glance at notes, others simply go blank when the red light comes on. Naming it lets us aim the time at the right spot instead of covering everything lightly.
You do not need to arrive polished or confident. You need a few minutes of footage, a willingness to watch yourself without wincing, and a sense of humour about the first take. We handle the rest, one clear step at a time, and we keep the tone encouraging throughout.
Where you look, how you sit and how you frame the shot are habits, and habits can be learned in small steps. Aim your eyes at the lens as if it were one friendly person, keep notes close and your shoulders loose, and practise in short rounds. If you would like guided feedback on your own footage, our Eyeline and Camera Presence sessions are built for exactly that. Ask us anything before you decide.